As a developer, all what you need is to focus on the development side of your application without worrying about deploying configuring your application in the cloud.
In this article, I will try to create a react application from scratch with the magic command create-react-application, and later we will try to deploy it to the IBM cloud using cloud foundry.
Unlike most other cloud computing platform services — which are tied to particular cloud providers — Cloud Foundry is available as a stand-alone software package. If desired, you can deploy it on AWS, but you can also host it yourself on your own OpenStack server, or VMware vSphere. IBM cloud comes with a feature of supporting cloud foundry, where we’re going to deploy our application without taking care of the server.
Can we consider cloud foundry PaaS as Serverless? checkout this great article from cloud foundry itself Let’s Talk about Serverless and Cloud Foundry
How to set it up
First of all you need an IBM cloud account, you can create one for free, as you can explore the free to get benefits and test some of the services. The cloud foundry PaaS exists in the free tier with a 256M memory limit. In this demo and since react application needs more memory, we will use 1GB as memory.
Then install the IBM Cloud CLI - type ibmcloud to check.
And last not least, we will need a manifest.yml containing the configuration regarding our application (don’t worry, there won’t be more than 5 lines of configs for this demo ^^).
Creating react app
Let’s use the create-react-app my-app where no build configuration needed.
npx create-react-app react-ibm-demo
cd react-ibm-demo
npm start
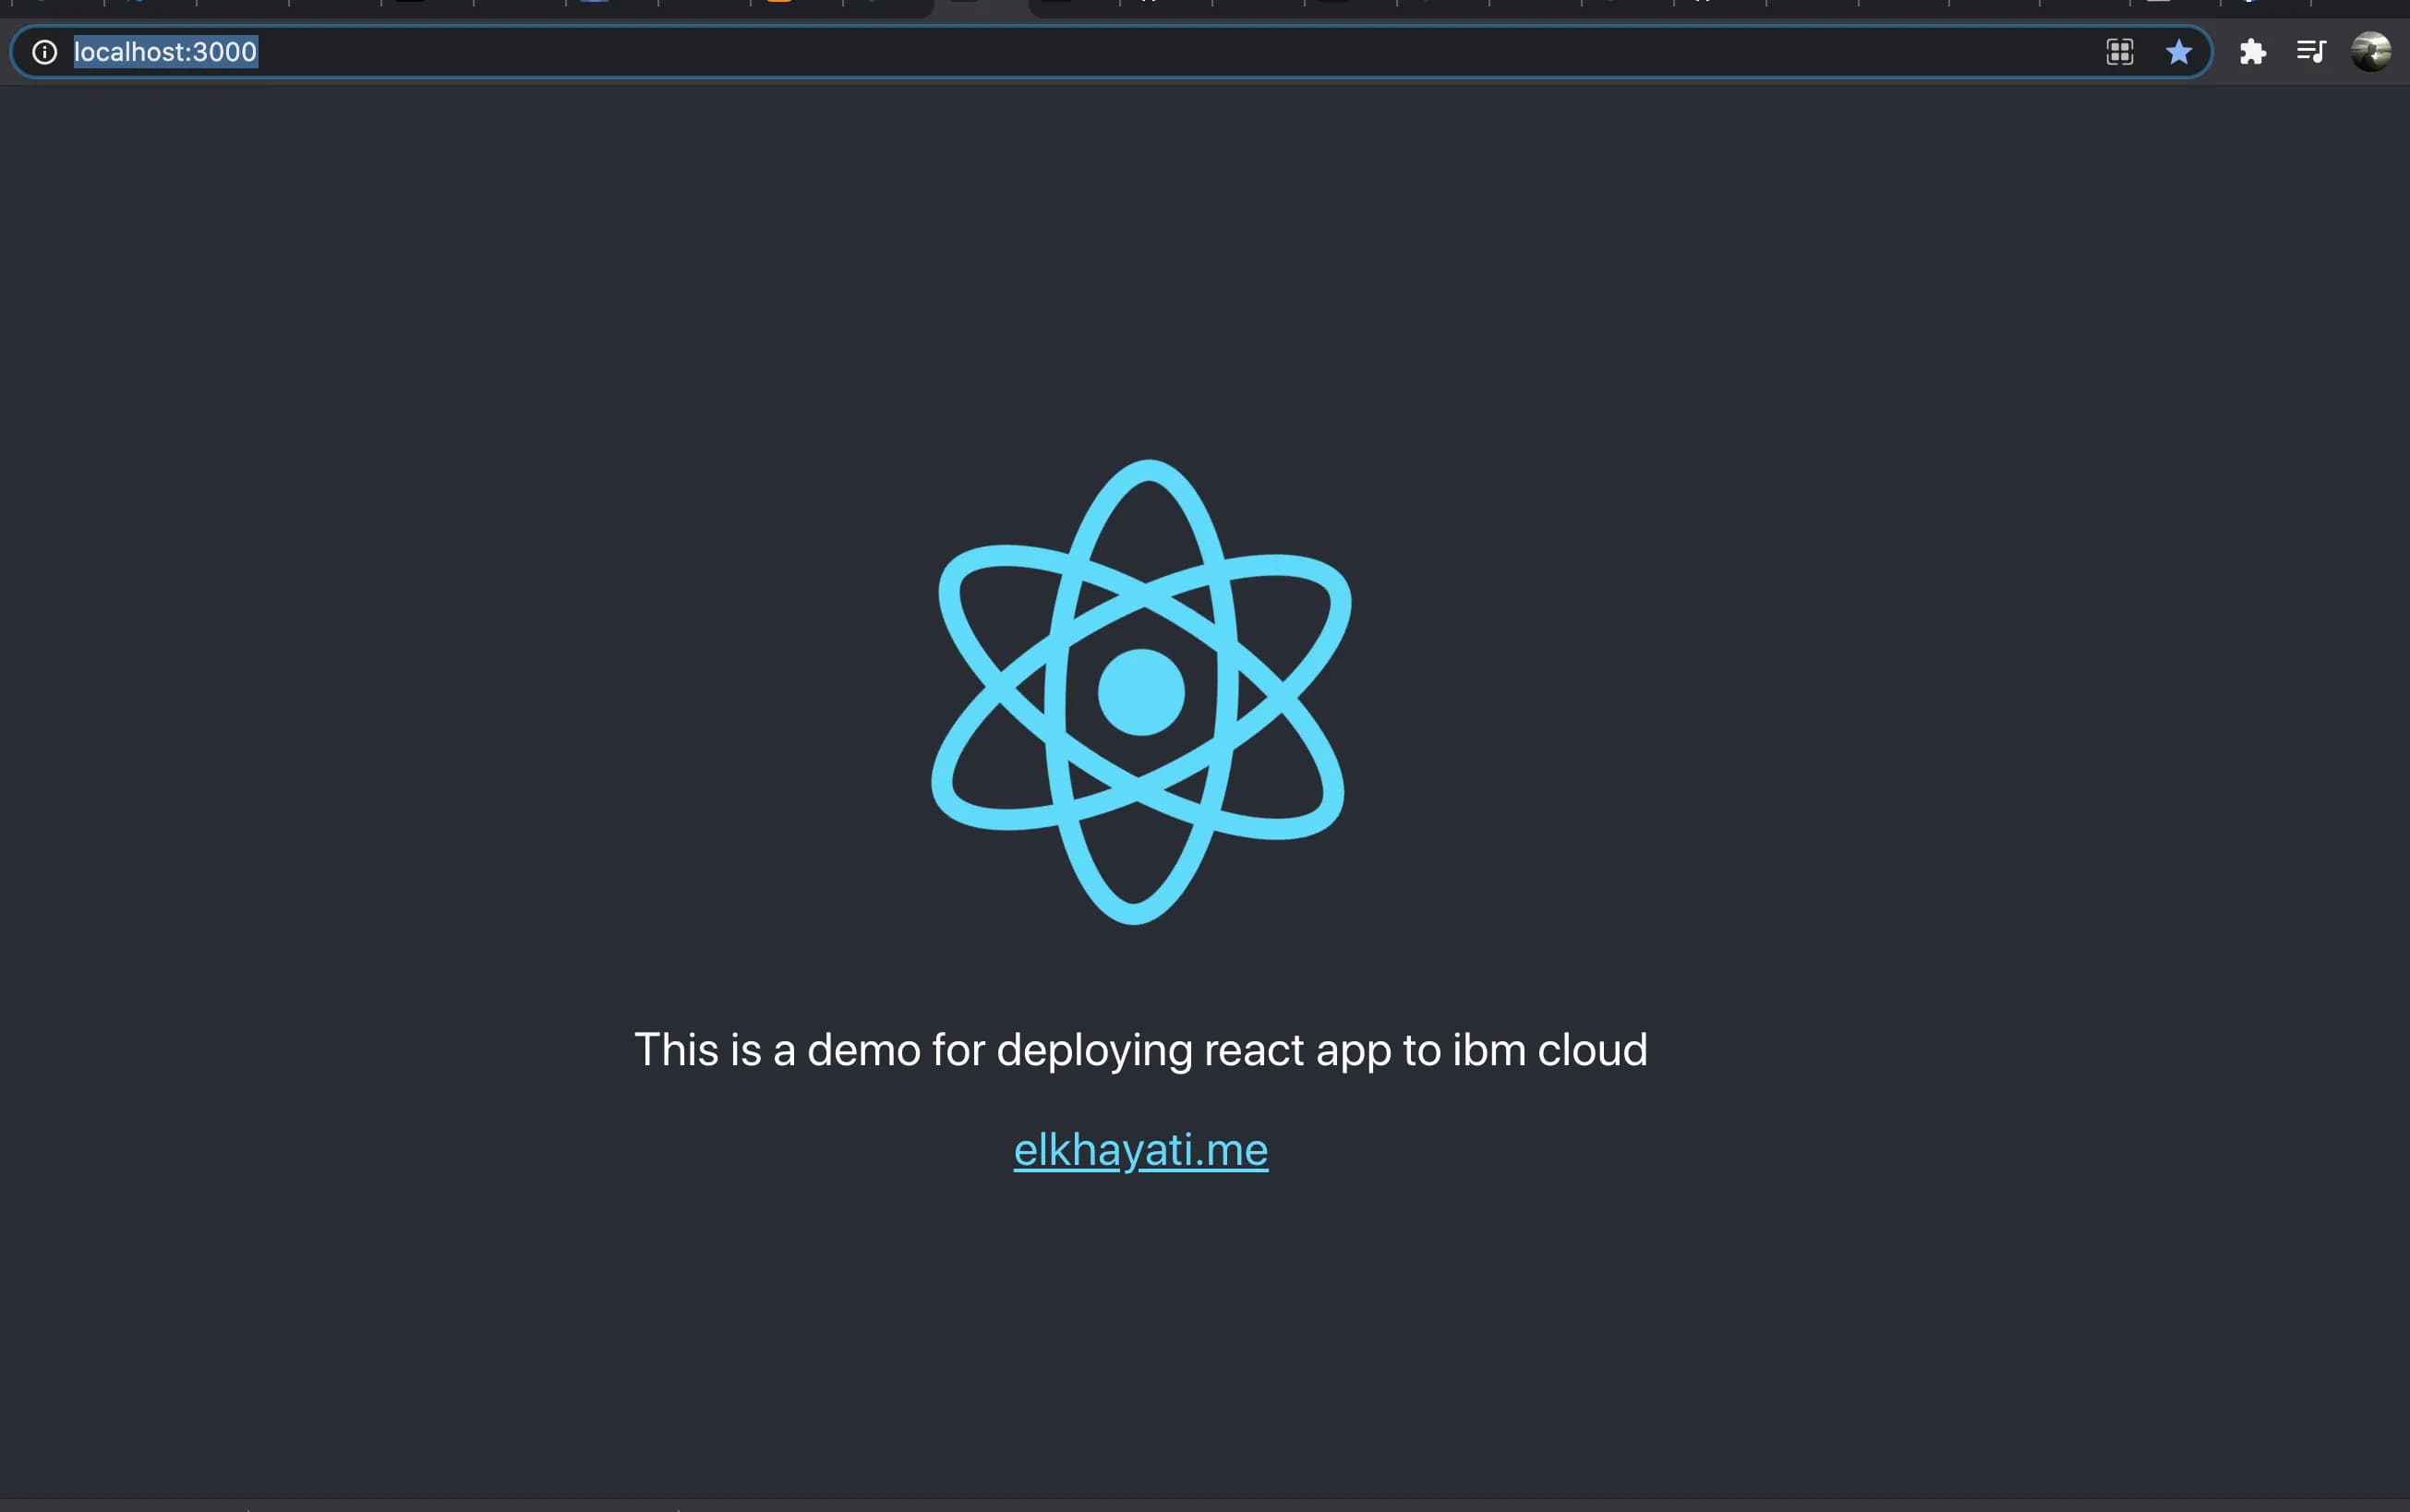
you should be able to see the your app on http://localhost:3000/
Manifest configuration file
This is the file that is responsible for some basic configuration for your application, such as the name, the path, and allocated memory for you application. Read more about the manifest.yml in the Cloud Foundry documentation For this demo, we will make things simple:
applications:
- name: react-ibm-demo-elmehdi
memory: 1024M
path: .
Pushing the application
First, make sure that all your npm packages are installed
npm i --saveLogin to ibm cloud (in case your having an organisation account, use the --sso
ibmcloud loginTarget the cloud foundry
ibmcloud target --cfAnd now the last magical command to push our app into the cloud
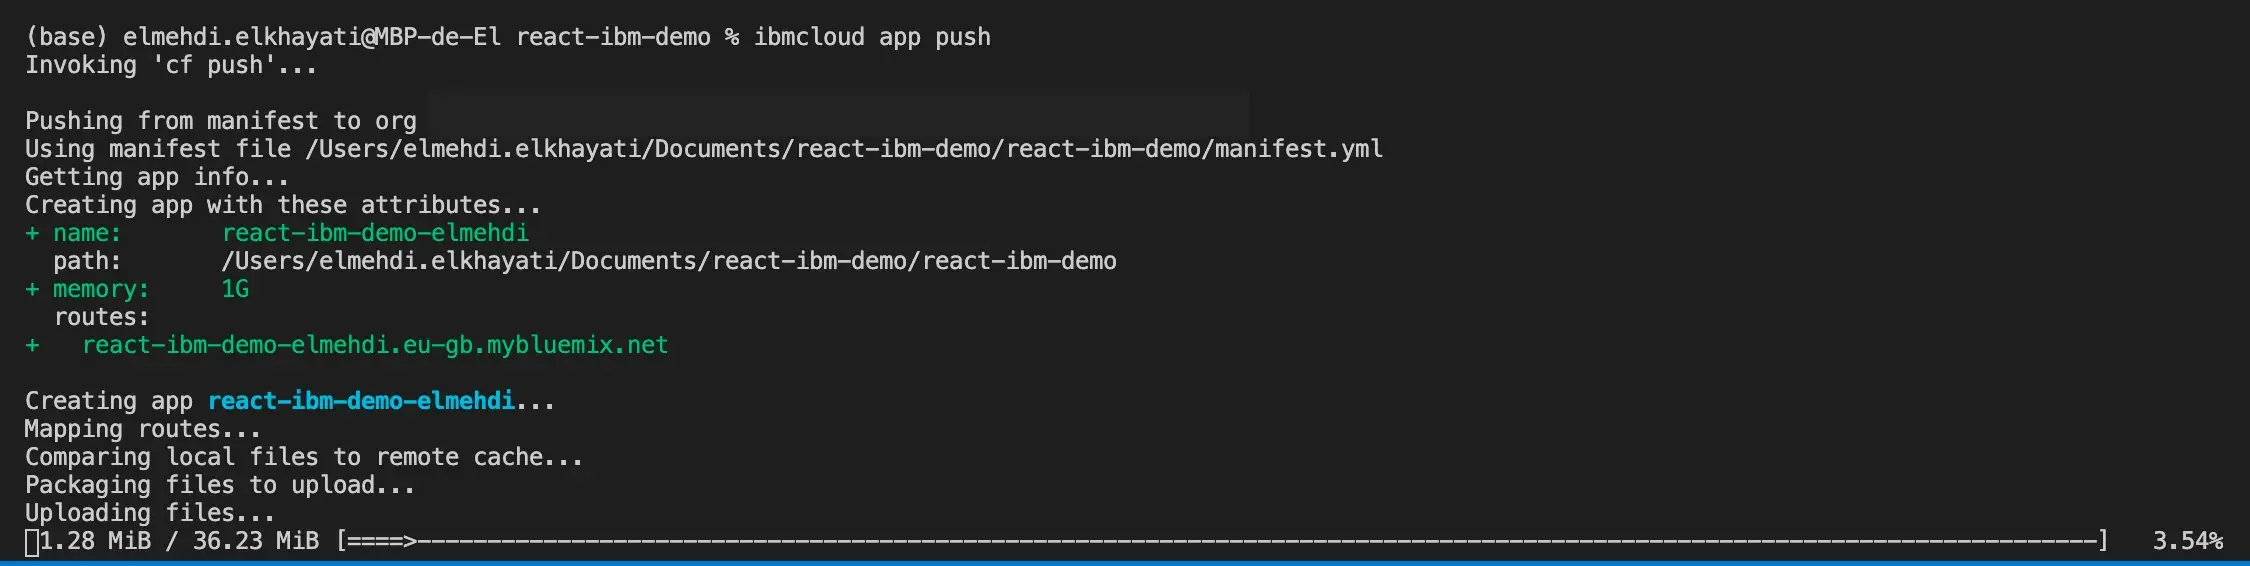
ibmcloud app pushIn your console you should be able to see the following results
Once the app gets uploaded and started running, you will see in the same console the following message containing the likn of your application
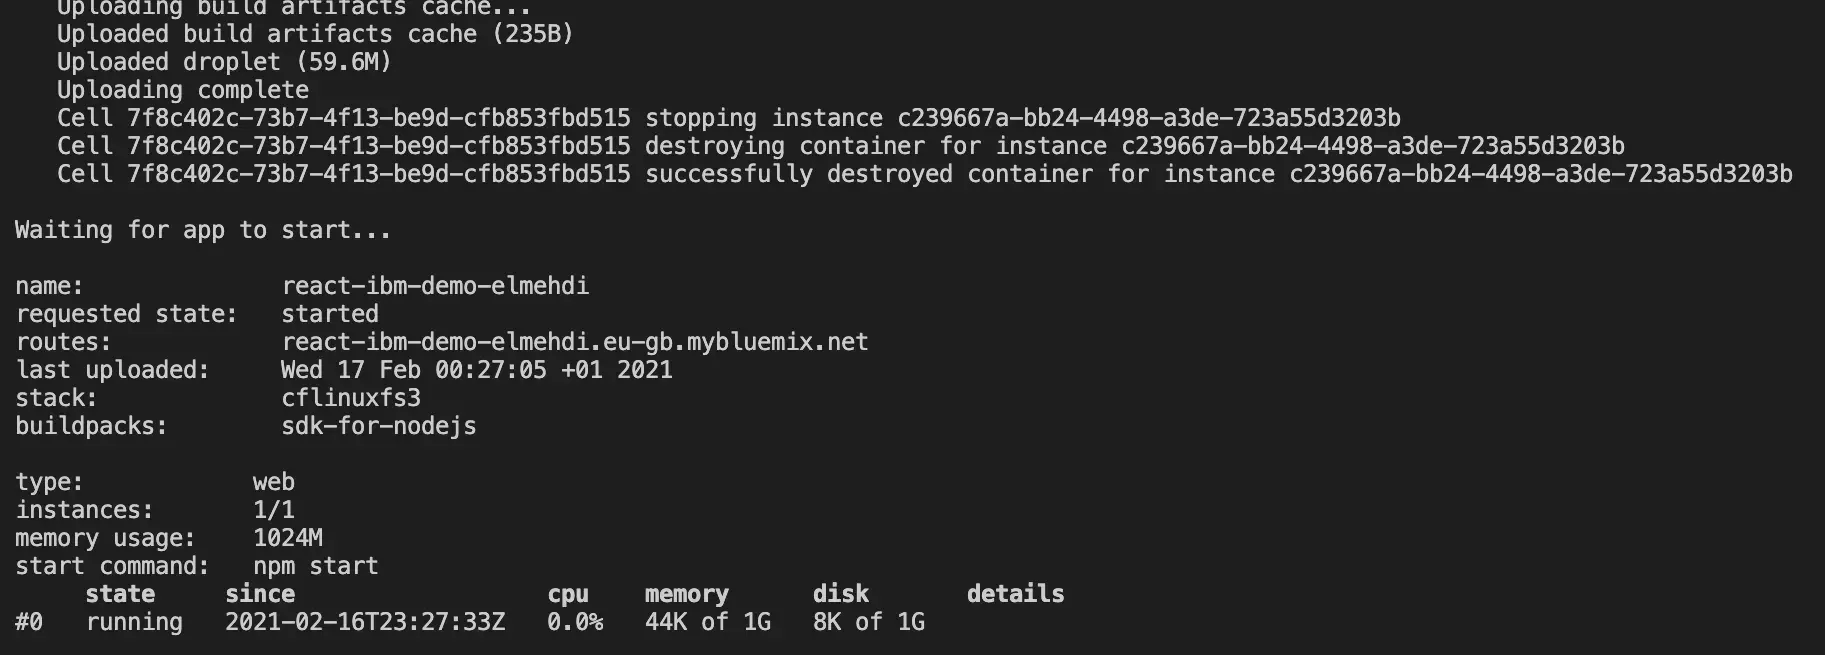
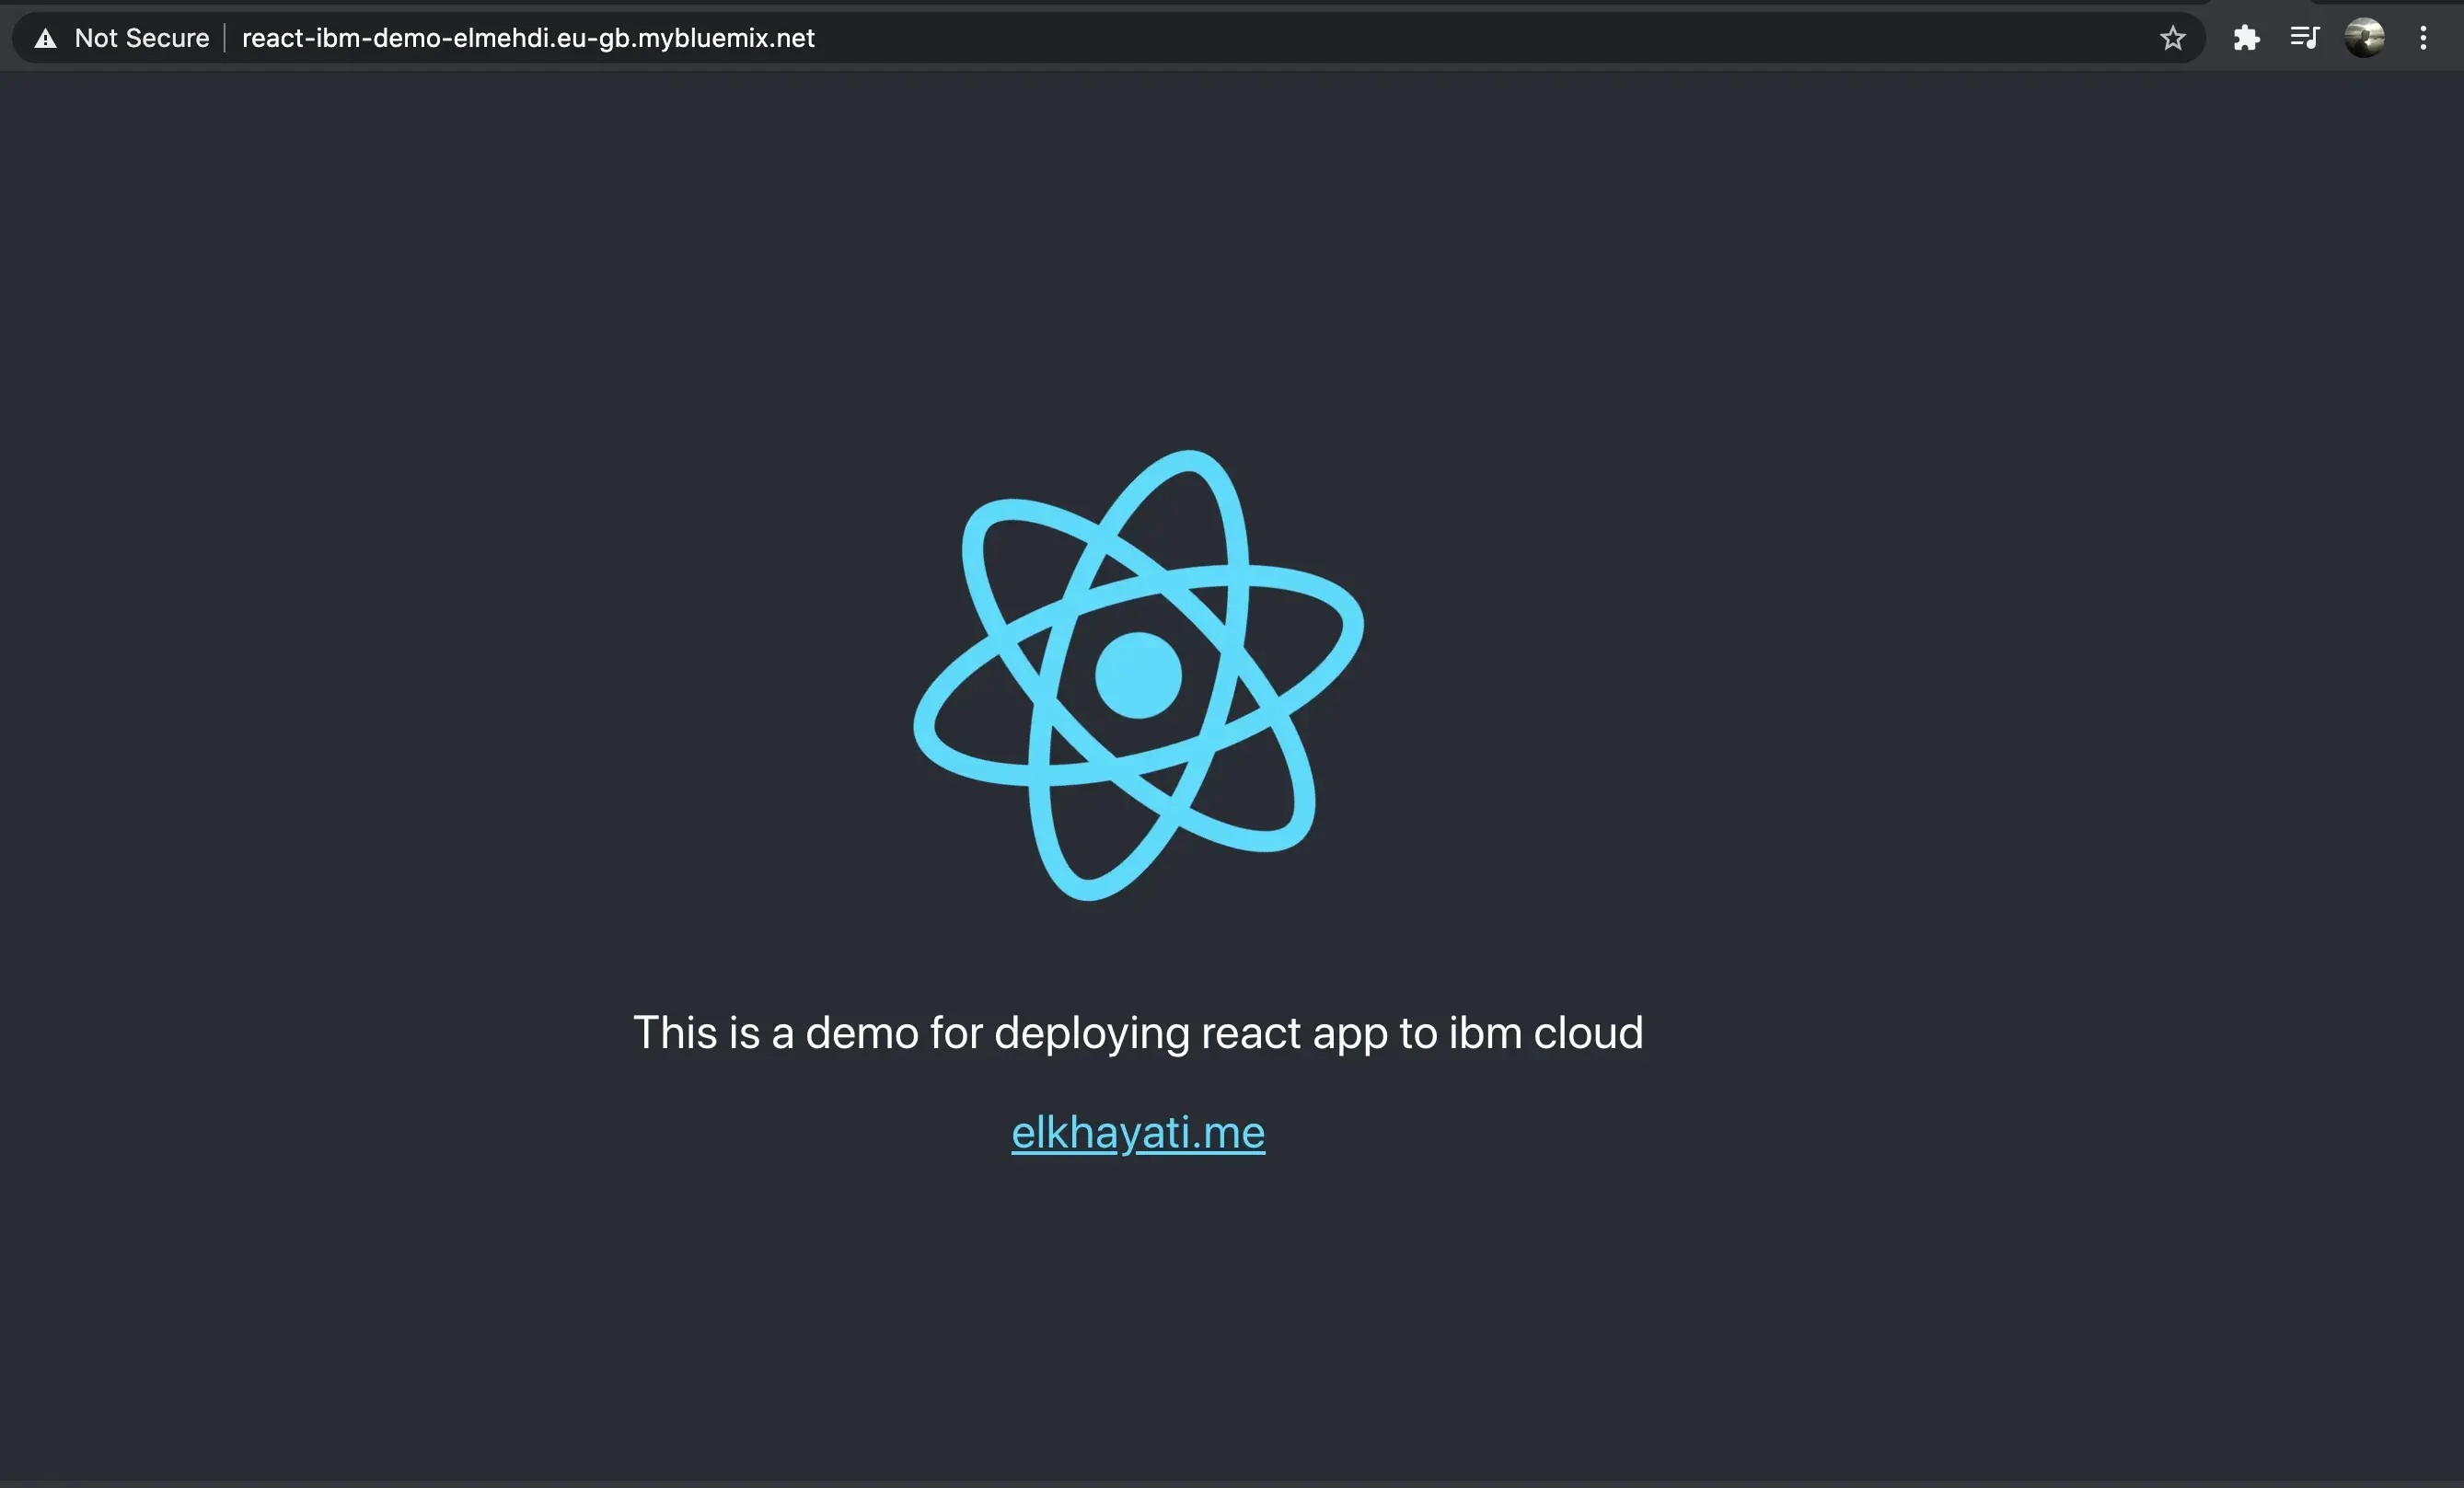
and if we check the link provided in the console, in my case react-ibm-demo-elmehdi.eu-gb.mybluemix.net
you will able to see your application deployed succesfully on the cloud
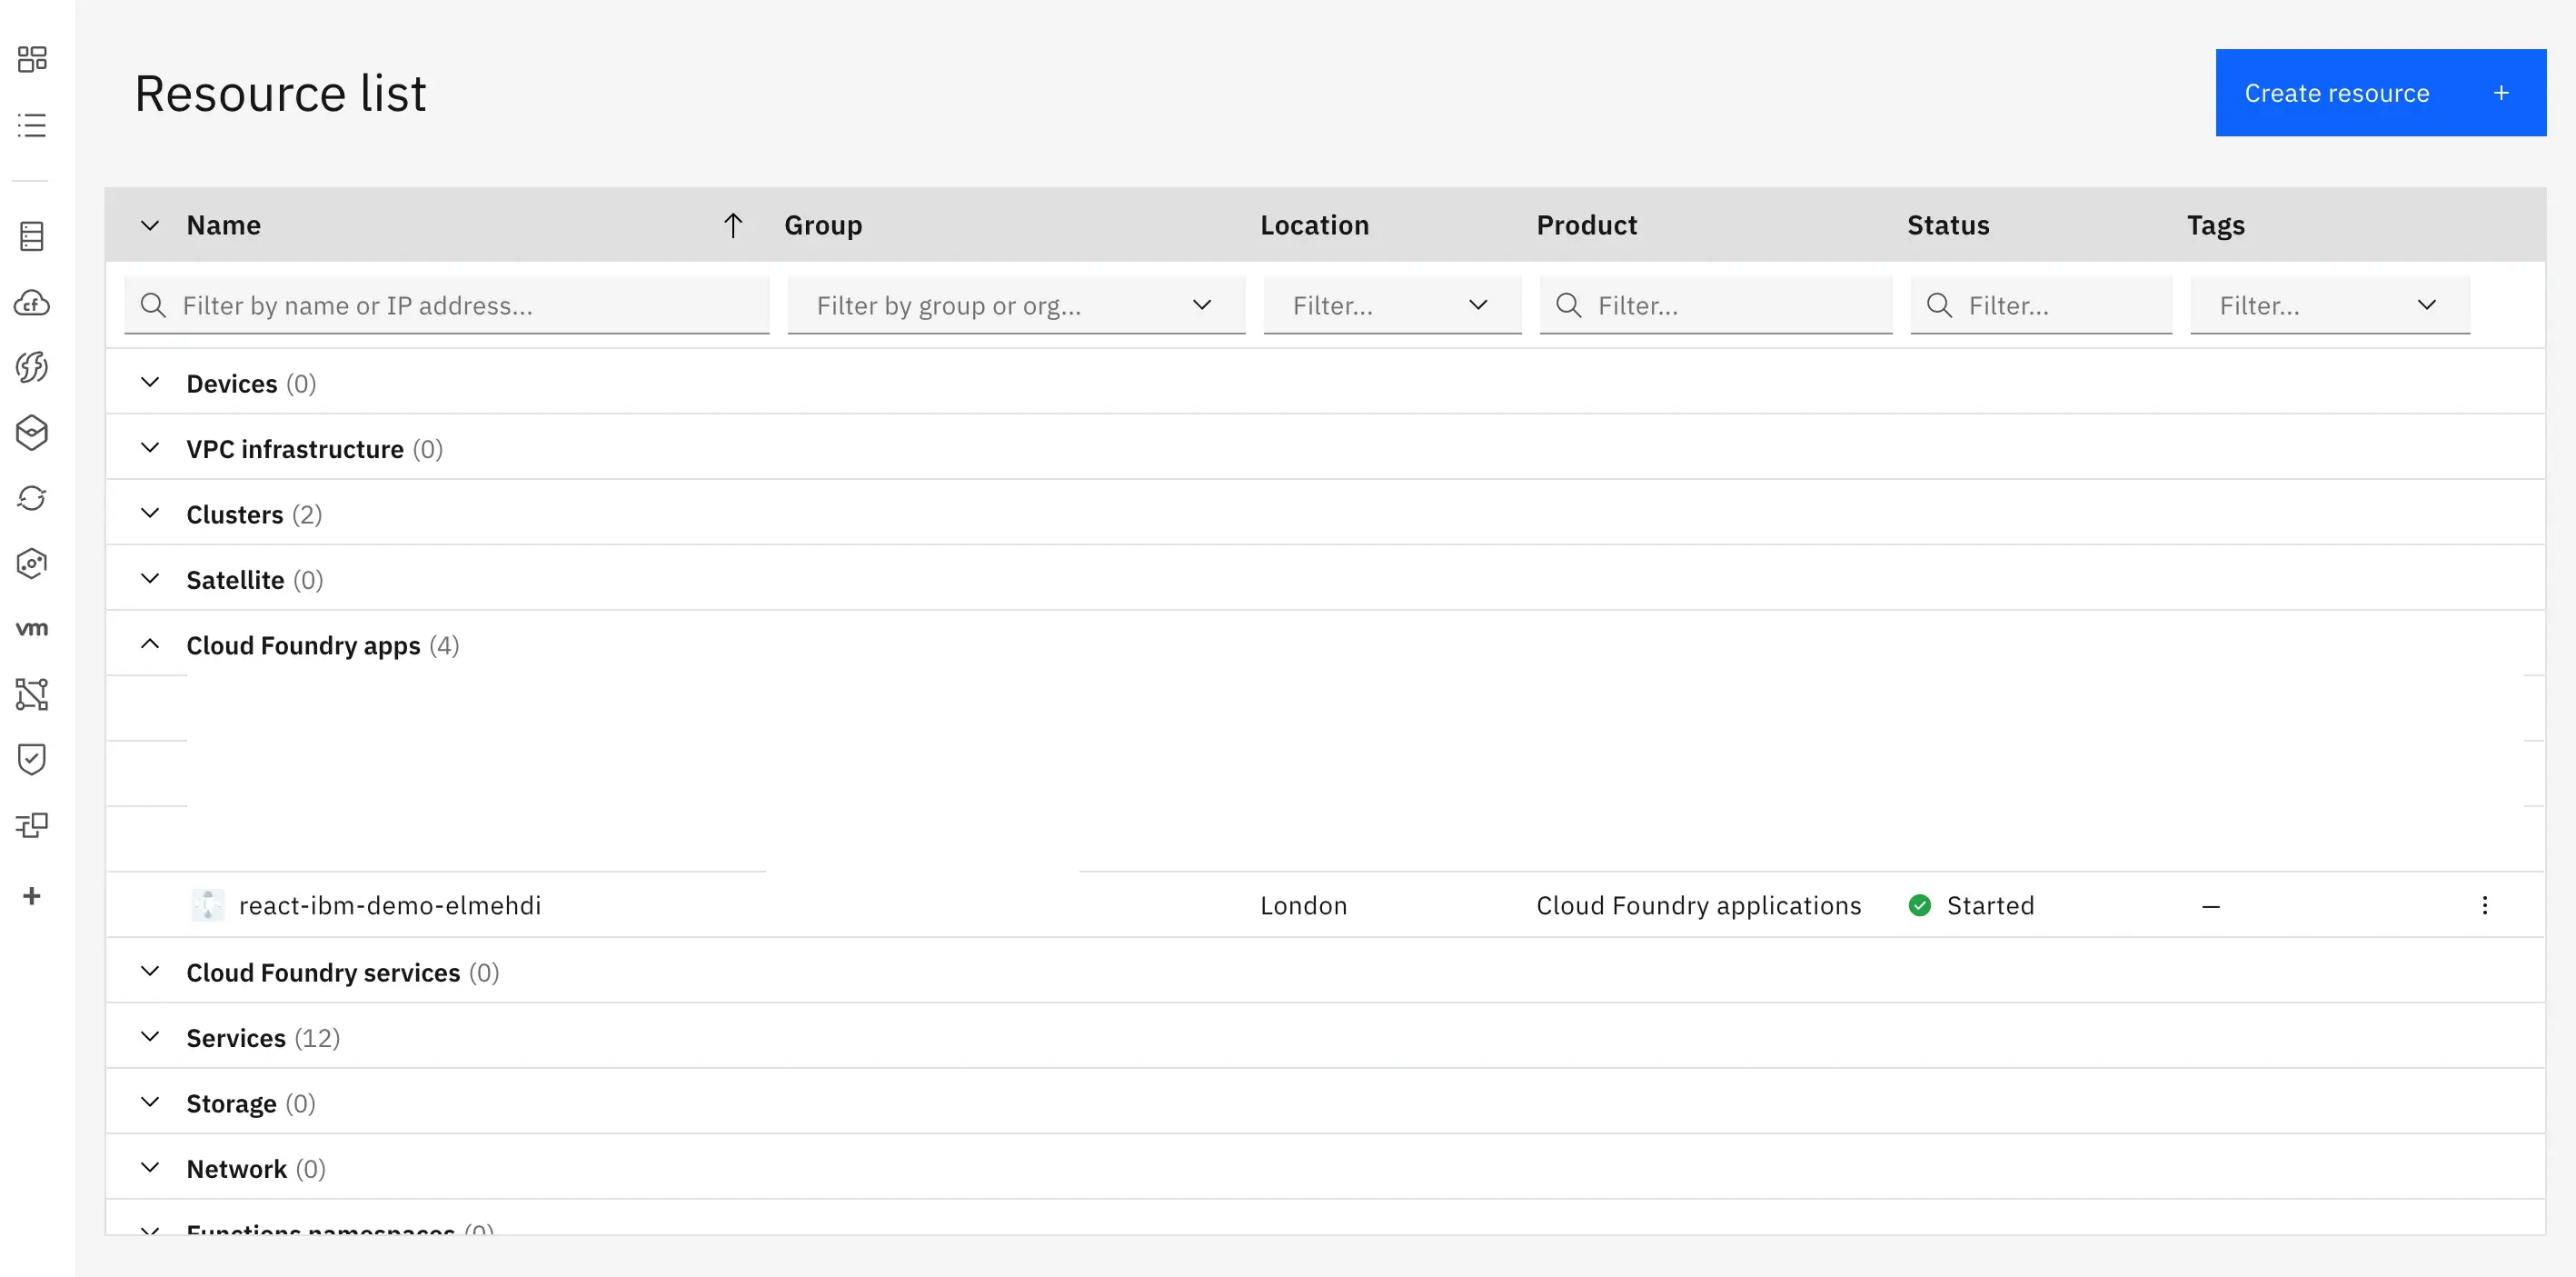
If we check the IBM cloud website, we will be able to see that our react application is well deployed as CLoud Foundry application
In case the application is deployed succesfully and you’re not able to access to the link due to 4XX or 5XX errors, you can check the Activity Feed of your application in the IBM Cloud UI (resources -> your-app -> activity feed)
It took me some time to deploy a react application that I’ve been working on, that’s why I decided to write this article, I hope you found it helpful.